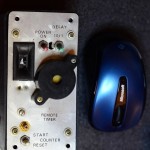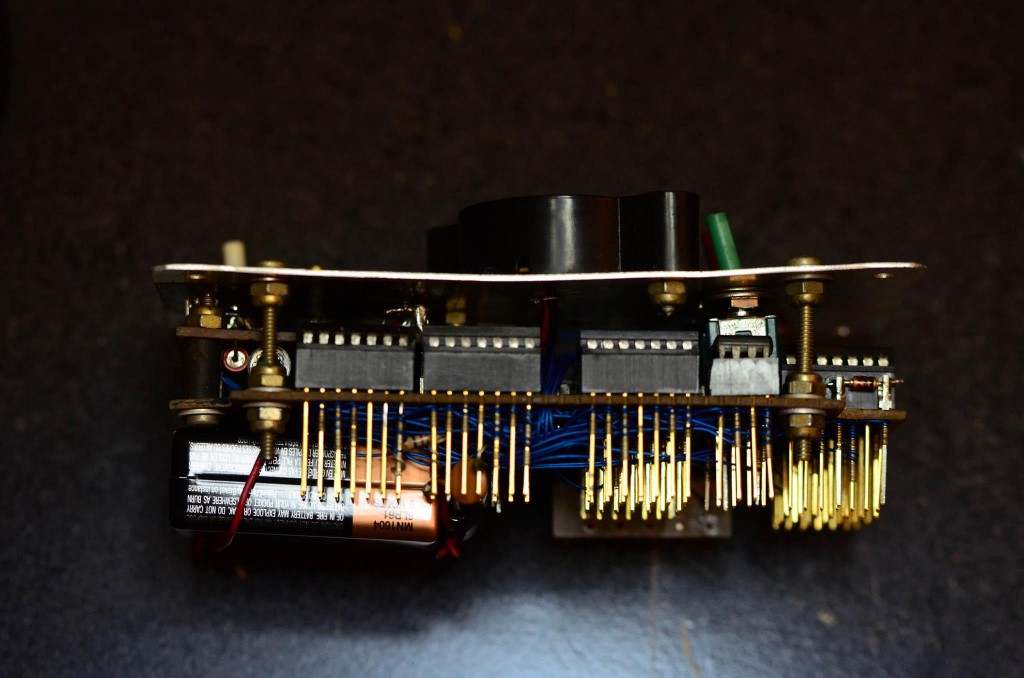
This post picks up where What I learned by building a project from scratch – Part 1 left off. In the last post, I had designed and tested my device and I was preparing to build a working prototype.
It looked good on paper
Yeah. I didn’t design it to look like this, but that’s what you learn by actually building something. The original design, for example, had put that big, ugly, black thing on the inside. The big, ugly, black thing is the beeper to indicate that it’s about to take a picture.

You can’t really see it from these photos, but I had reserved space for it on the inside. Well, not for the one in the photo, but for the smaller one I originally spec’d in the design. The bad news for my prototype, however, was that I could not get the part I spec’d. So I learned my next lesson:
You can have it now or you can have it good
Two of the three legs in the project management triangle: Fast, Good, Cheap; pick any two. I picked Fast and Cheap.
I had to decide, did I want it finished soon or looking good. Clearly, I picked the former.
All put together, it worked (quite well, actually), but it’s looks left something to be desired.
If I had it to do over again… I’d probably make the same decision. The goal of this prototype was to test the functionality. I could iterate and find a part that fits (or find more suppliers so as to not end up in the same bind on the next iteration), but I didn’t want to delay field-testing–something for which looks were secondary.
Clearly, if I had different goals for the prototype, I might have made a different decision. For example, if the goal was to impress others and raise funding, I would have approached the appearance of the project differently–learning yet another lesson…
Keep your goals clear and in front of you
That says it all.
Finally

The device worked quite well and I even used it for what it was designed a few times. While that’s an accomplishment in and of itself, the feature of the design that I didn’t (and couldn’t) appreciate until many years later was its durability–the durability of both the design and the implementation, in fact.
I recently found this prototype in a box hidden in the deep recesses of my garage (where things typically go to disappear). I opened it up and it looked like it did when I built it. The relay (shown in the photo above the battery) needed to have its return spring reattached, but other than that, once I added a battery, it worked just like it used to.
Unfortunately, it lasted decades longer than the camera for which it was designed. Nevertheless, the lessons I learned by building it are timeless.
