
It might not look impressive, but this device represents a considerable learning experience for me–an experience that I hope I’m able to pass on to my future students. The only problem, which I hope to rectify after the fact, is that I didn’t recognize the lessons I learned at the time and so I was condemned to relearn the several times later.
The project
It started off simple enough. I wanted to build a timer that would wait 10 seconds and then take a picture. After thinking about the application, it occurred to me that the first picture might not come out well, so I added the ability to select how many photos it would take after waiting the first 10 seconds. Time to complete this step: about an hour.
Before I had even started, I was already learning a valuable, albeit at the time unrecognized, lesson.
Lesson 1 – Feature creep
Was the ability to take multiple pictures after waiting really needed? (Probably not.)
Was the cost of this change factored in the decision? (No, because I could do anything, cost was no object.)
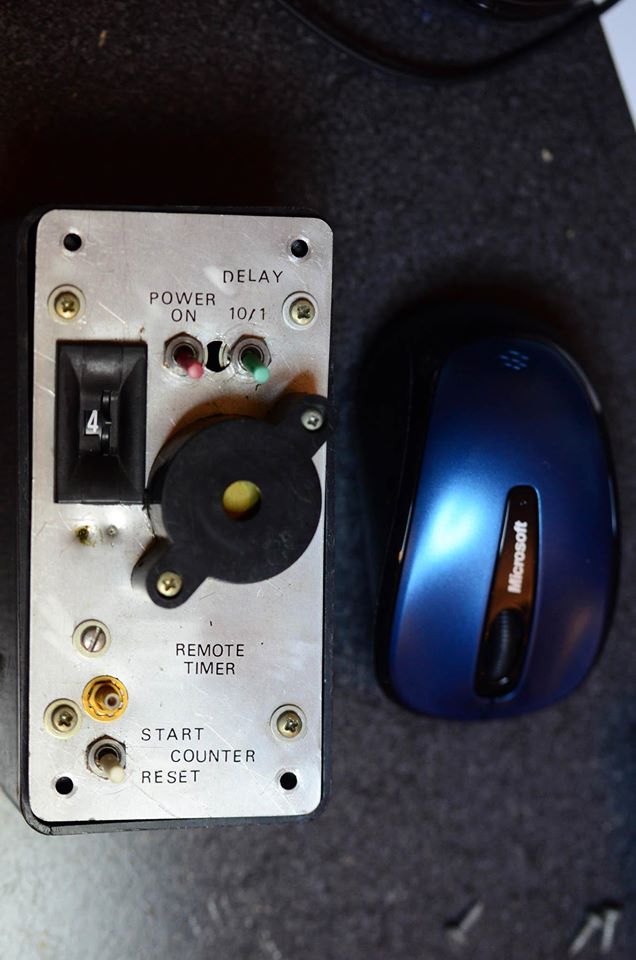
The prototype
So with my [already revised] specification in hand, I set off to build a prototype. Being a hardware project meant collecting the necessary integrated circuits and other components and wiring them together on a breadboard. After designing the circuitry and ironing out the logic and state diagrams, committing all that to the breadboard was straightforward. With care and incremental testing, the design came together rather quickly. Time to complete this step: About a day–and I was about to learn my next lesson…
Lesson 2 – The prototype is not the product
It was very easy to get ahead of myself at this point. I had a working prototype. My design was validated. I was heading for home plate.
Not so fast. I was really just heading for first base. I was nowhere near having something I could put in my camera bag, let alone let anyone else use.
The real prototype
But wait! Didn’t I just finish the prototype? Nope. That was just the breadboard–more of a working demo.
Bummer.
The real prototype had to look like something I could actually use. In this step, I had to package it into something that not only functioned, but it had to function in the real world. I needed to give it the physical design some attention.
While it would be some time before I actually studied user-centered design, looking back, I had the right idea. I knew the audience (me) very well and I knew the application, so I laid out the user interface and set to make it happen. I was about to learn my next lesson…
Lesson 3 – A working demo is not a prototype
My breadboard project was really just a working demo. The prototype (as in a working example of the product in, more-or-less, product form) was another level of complexity.